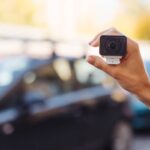


How to Install a Reverse Camera & Key Features to Know
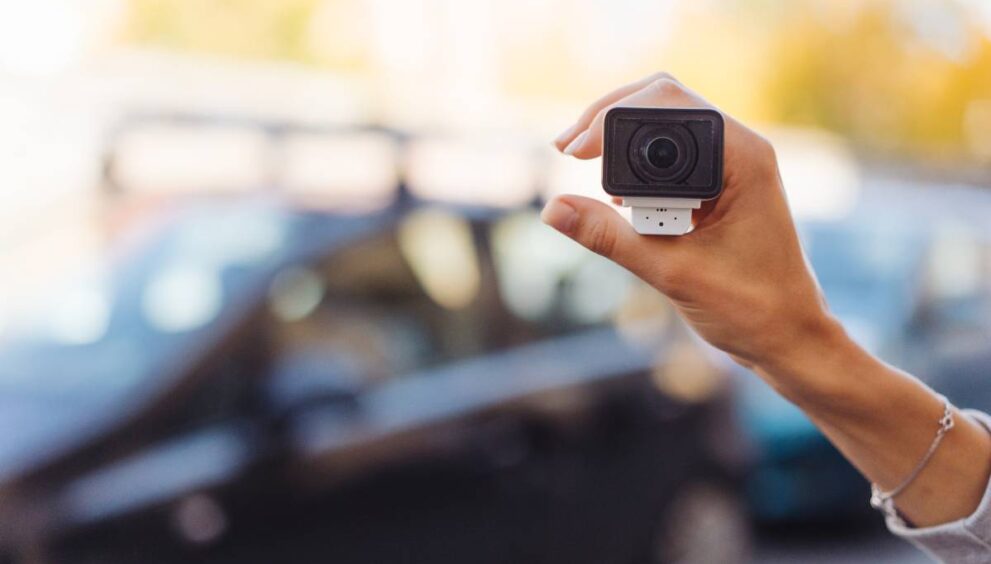
Installing a reverse camera is one of the most practical safety upgrades you can add to your vehicle. Whether you’re trying to avoid blind spots, make parking easier, or simply modernise an older car, the right camera can make everyday driving significantly safer and help you capture moments instantly with clear, real-time visibility behind your vehicle. But with so many models, features and installation methods available, it can be confusing to know where to start. This guide explains exactly how to install a reverse camera step-by-step and breaks down the essential features you should look for before buying one.
What you need to know first
There are two common installation styles:
- Wired systems — camera connects to a monitor (or head unit) with a video cable (usually RCA). More reliable image, no radio interference, but requires running a cable from the back to the front.
- Wireless systems — the camera transmits video wirelessly to the monitor. Easier to install, but can have interference, latency, or lower image sharpness.
Most cameras are powered from the reverse light circuit, so the camera automatically turns on when you put the car in reverse. Monitors can be standalone screens, mirror-integrated displays, or compatible head units.
Tools & materials you’ll likely need
- Reverse camera kit
- RCA video cable (for wired systems)
- Power wires, connectors, heat-shrink
- Inline fuse holder or fuse tap
- Wire stripper/crimper
- Plastic trim removal tools
- Small drill (if needed)
- Silicone sealant
- Zip ties
- Multimeter
- Marker and masking tape
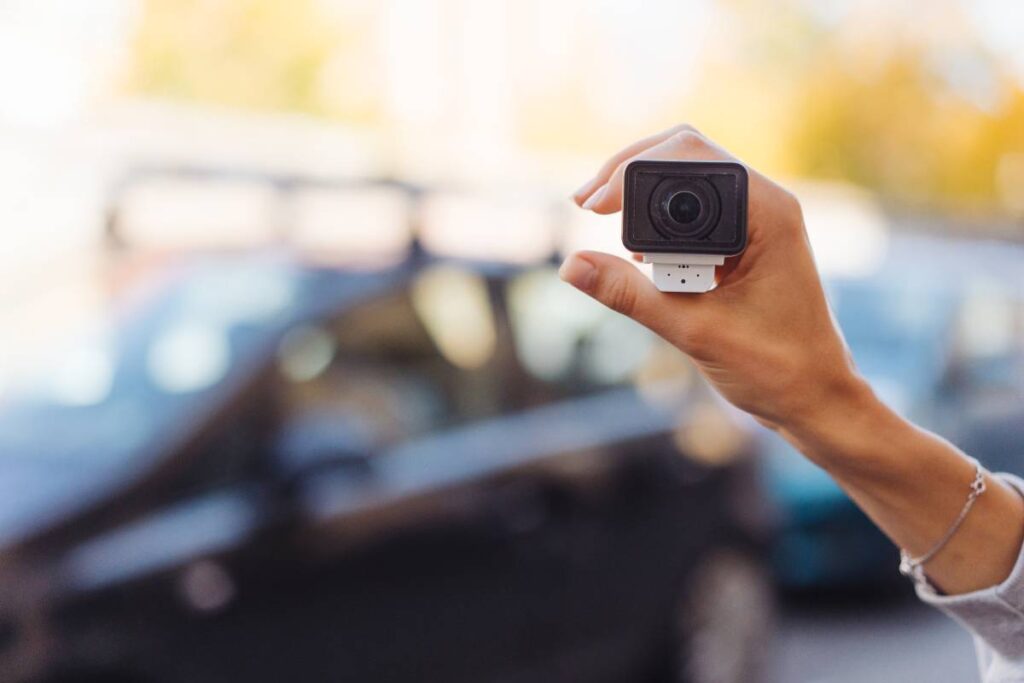
Step-by-step installation
Note: Vehicle designs vary widely. Consult your car’s manual and the camera instructions. If unsure, let a professional handle the job.
1. Plan placement and routing
- Choose a mounting location: above the license plate, bumper trim, or a housing that replaces the plate light.
- Plan the cable route from the rear to the dashboard or head unit. Follow existing wiring paths where possible.
2. Mount the camera
- Mark screw or bracket positions.
- Drill if required, then seal the drilled holes with silicone.
- Adjust the angle downward slightly so the camera captures the ground and the bumper edge.
3. Route the video cable to the front
- Run the cable under interior trim or carpet, securing with zip ties.
- Avoid moving parts and hot areas.
- Use an existing firewall grommet to enter the engine bay if necessary.
4. Power the camera from the reverse lights
- Remove the taillight housing and identify the reverse light positive wire using a multimeter.
- Connect the camera’s red wire to this positive wire and the black wire to a good ground point.
- Some kits require a constant 12V; follow your manual closely.
5. Connect the monitor
- Plug the RCA into the monitor or head unit video input.
- Attach the trigger wire so the screen switches to camera view automatically when reversing.
- Power the monitor using an accessory 12V or its supplied power adapter.
6. Test & fine-tune
- Shift into reverse (with ignition on) to check the image.
- Adjust camera angle, brightness, and guidelines.
- Reinstall trim and secure all wiring.
Wireless installation: What changes
Wireless kits replace the long RCA run with a transmitter and receiver.
- You still power the rear camera from reverse lights.
- Check for clear pairing.
- Be aware of potential interference inside metal-bodied vehicles.
Safety & legal reminders
- Reverse cameras assist they don’t replace mirrors or visual checks.
- Ensure equipment is securely mounted and wiring is protected.
- Avoid drilling through structural or safety-critical areas without proper guidance.
Key features to look for when buying a reverse camera
1. Image resolution & sensor quality
- 720p or 1080p gives a clearer, more detailed view.
- A high-quality CMOS sensor improves exposure, colour accuracy, and low-light clarity.
2. Low-light / night vision
- Look for strong low-light sensitivity, IR LEDs, or “night colour” sensors.
- IR helps in complete darkness, though it can produce mild glare on reflective surfaces.
3. Field of view (FOV)
- Typical angles range from 120° to 180°.
- 120–150° is ideal for parking without distortion; ultra-wide angles may shrink perceived distance.
4. Waterproof rating (IP rating)
- Choose IP67 or IP68 for long-term durability outdoors.
- These resist dust and water, crucial for bumper-mounted cameras.
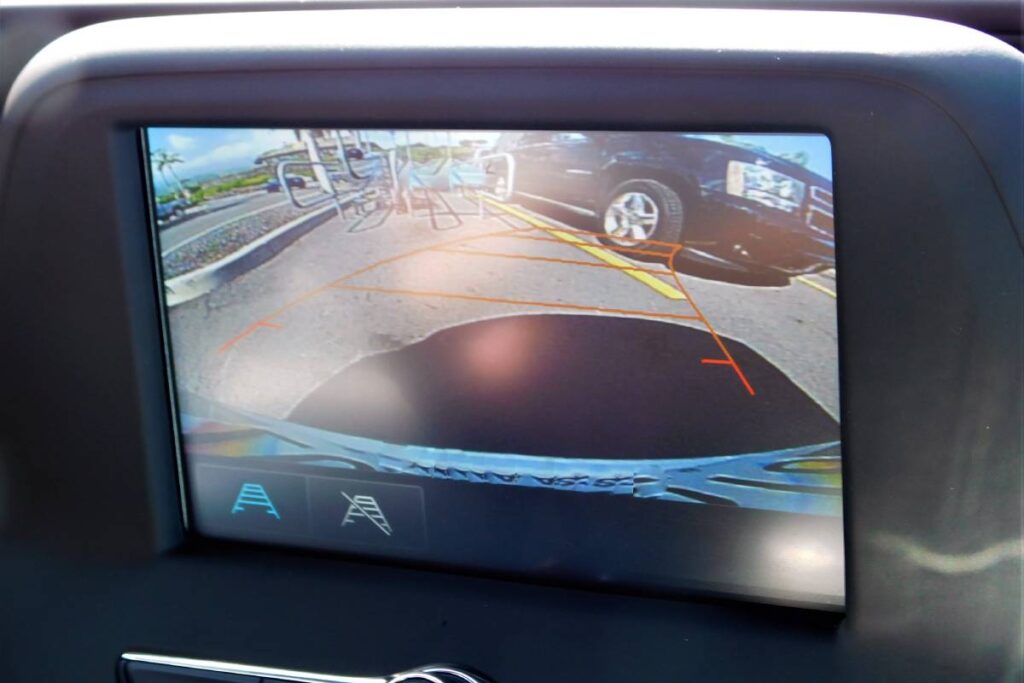
5. Parking guidelines
- Static guidelines give depth approximations.
- Dynamic guidelines turn with the steering wheel (requires a compatible head unit).
6. Night colour vs infrared
- Night colour sensors provide more realistic nighttime video.
- IR is good, but usually black-and-white.
7. Monitor compatibility
- Ensure camera output (RCA, NTSC/PAL) matches your monitor.
- If pairing with a head unit, confirm it supports a reverse camera input and trigger wire.
8. Wired vs wireless reliability
- Wired: best stability and clarity.
- Wireless: easier install, but occasional signal drops.
9. Build quality & weather resistance
- Metal housings are tougher than basic plastics.
- Look for anti-fog lenses and corrosion-resistant connectors.
10. Power protection
- Features like surge protection and reverse polarity protection reduce installation mistakes.
11. Brand reputation
- Established brands often have better durability and warranties.
- Reading reviews helps identify long-term issues like water ingress or sensor degradation.
Tips for the best results
- Mount the camera so the bumper edge is visible. This helps judge distance.
- Always fuse any new 12V tapping point.
- Use heat-shrink rather than electrical tape for connections.
- If guidelines appear offset, recalibrate according to the camera’s instructions.
Troubleshooting common issues
No image:
Check input selection, RCA connection, and reverse-light trigger wiring.
Flickering (wireless):
Reposition the transmitter away from antennas or metal barriers.
Water leakage:
Reseal grommets and ensure camera screws are watertight.
Overexposure at night:
Adjust brightness or experiment with IR on/off if supported.
Conclusion
Installing a reverse camera is a high-impact safety upgrade that most DIY-minded drivers can complete with basic tools. Choose a camera with good night performance, a suitable field of view, a strong waterproof rating, and compatibility with your display. Wired setups offer the best reliability, while wireless kits provide quick installation with minimal trim removal. If you want a hassle-free install, Bankstown Sound or other professional automotive audio specialists can do the job cleanly and safely.